
How Interior Painting Prep Affects the Quality of Your Finish
If you’ve received more than one quote for an interior repaint in London and the numbers don’t line up, you’re not imagining things. The scope sounds similar, the rooms are the same, and the paint brands might even match — but the prices are different. In most cases, how interior painting prep affects the quality of the finish is exactly what explains that gap. What one contractor plans to do before the paint goes on, and what another is planning to skip, is almost always where the difference lives. A finish that looks good on day one can still be a poor result if the preparation wasn’t done correctly. The problems show up later, and by then the contractor is long gone.
Prep Is What Separates a Finish That Lasts from One That Just Looks Good on Day One
Paint is a coating, not a corrective material. It does not fill, smooth, or seal on its own. Whatever condition the surface is in when the paint goes on is the condition it will be in when the paint dries — only now it’s visible under a layer of finish. A high-quality paint product matters, but it cannot compensate for a poorly prepared surface. This is why two quotes for the same rooms can differ significantly in price even when the paint brand and colour are identical. A contractor who plans thorough preparation is quoting a different job than one who isn’t.
What Interior Painting Prep Actually Involves
Prep is not one step. It is a sequence of distinct tasks, each targeting a specific surface condition that would otherwise affect the finish. What that sequence looks like on a given job depends on the walls — but these are the core components of a thorough interior prep process.
Cleaning and Degreasing
Paint applied over dust, grease, or residue cannot bond properly to the surface. In kitchens and high-traffic areas this is especially relevant — cooking residue and hand oils accumulate on walls and aren’t always visible to the eye. A surface that looks clean is not always chemically clean. Contaminants that don’t show up visually can still prevent adhesion and cause the finish to peel or flake earlier than it should.
Repairs and Patching
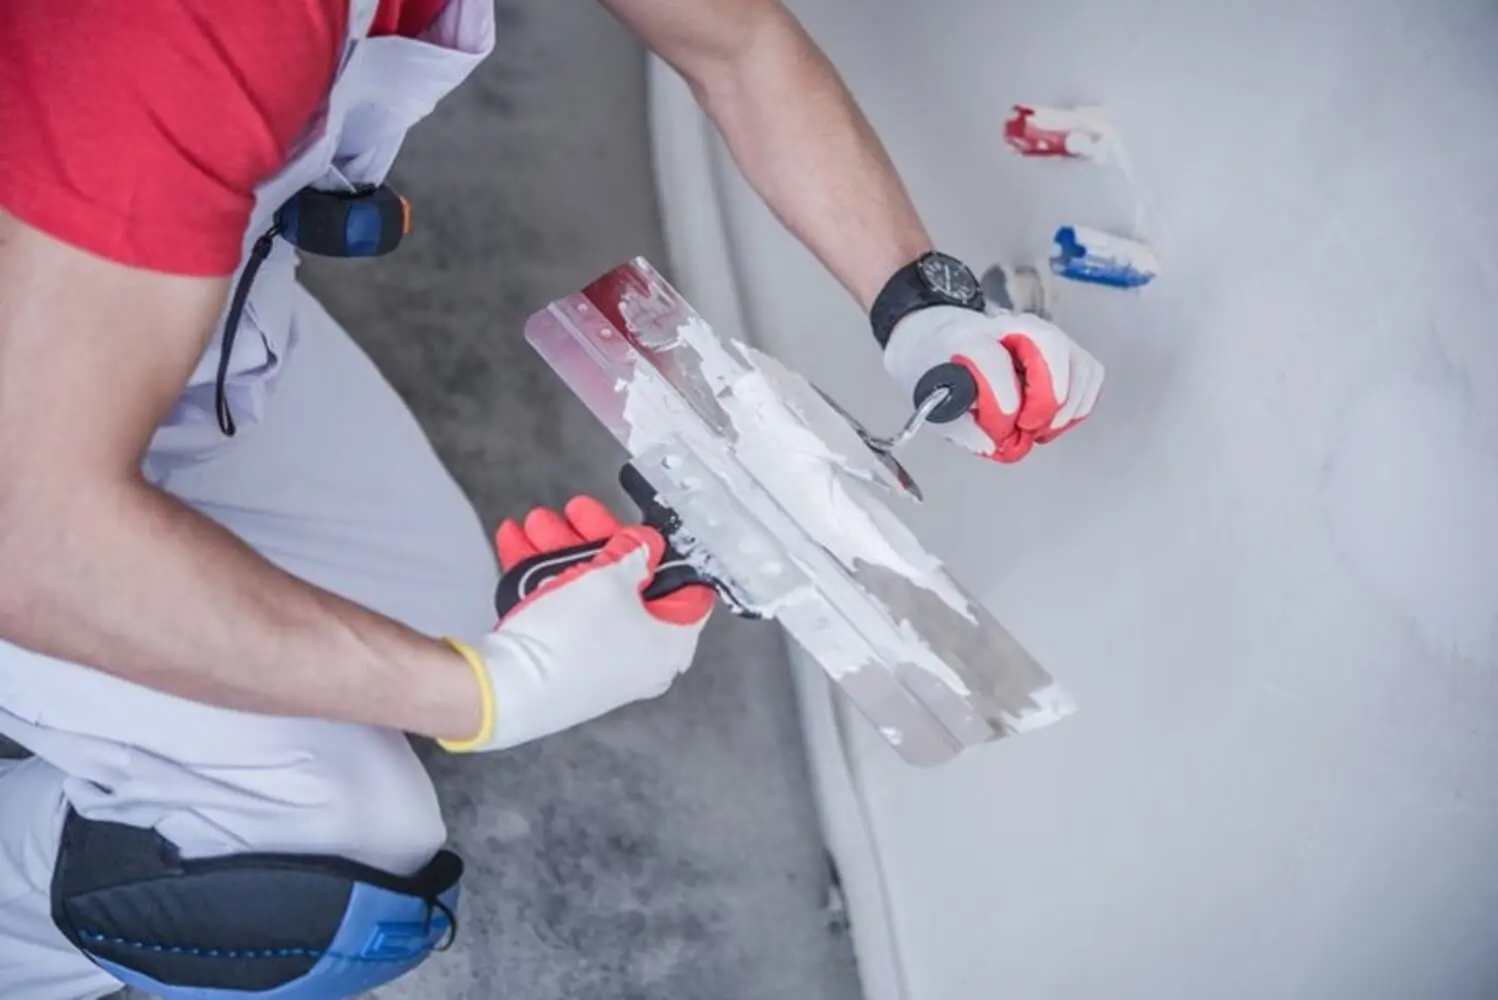
Holes, cracks, dents, and damaged drywall must be filled and feathered before paint goes on. Paint does not hide these defects. It makes them more visible, particularly under natural light or when light hits a wall at a sharp angle. The quality of the repair matters as much as whether the repair was done at all. A patch that isn’t properly feathered into the surrounding surface will show through the finish. It appears as a visible outline or texture change under direct light. On older walls, common in London’s established neighbourhoods, the complexity increases. Multiple layers of old paint, plaster, and previous repairs may all need to be assessed before new paint goes on.
Sanding
Sanding serves two purposes: it smooths rough patches and existing texture, and it scuffs glossy surfaces so the new paint has something to grip. Glossy or semi-gloss surfaces — common on trim, doors, and previously painted walls with a sheen — resist adhesion. Paint applied directly to a glossy surface without sanding will not bond reliably and is likely to peel. Sanding repaired areas is also essential. A patch that hasn’t been sanded smooth will be visible as a raised or uneven area under the finish.
Caulking
Caulking seals gaps along trim, baseboards, window frames, and corners. It seals gaps along trim, baseboards, window frames, and corners. Without it, those gaps show up as dark lines that break the finish. The work can look unfinished even when the painting itself is clean. Caulking also keeps dust and debris from collecting in those gaps over time, which affects how well the finish holds up along edges.
Priming
Primer seals the surface, improves adhesion, and creates a uniform base for the topcoat. Without it, paint absorbs unevenly into the surface — particularly on repaired areas, bare drywall, or surfaces with significant colour changes — and the finish shows variation in sheen and colour even after multiple coats. Spot priming repaired areas is a minimum requirement. Full priming is warranted on significant colour changes, new drywall, or surfaces with staining or discolouration that would bleed through the topcoat. Skipping primer and adding extra finish coats instead is a common shortcut. It does not produce the same result and costs the homeowner more in the long run.
Why the Condition of Your Walls Changes What Prep Requires
Prep is not a fixed set of steps that applies the same way to every job. What a thorough process involves depends heavily on the condition of the walls. Assessing that condition accurately before quoting is part of what separates a serious contractor from one who is guessing.
A few variables that change what prep requires:
- Older walls. The detached character properties common in London’s established neighbourhoods often present surface conditions that newer builds don’t. Multiple layers of old paint, plaster walls with hairline cracks, and previous repairs done without proper preparation at each stage all affect what a thorough prep process needs to address before new paint goes on.
- Glossy or high-sheen surfaces. These require sanding before any new paint is applied. A contractor who doesn’t assess sheen level before quoting is not accounting for this step.
- Significant colour changes. Going from a dark colour to a light one, or from a stained surface to a painted one, changes what priming is required and how many coats the job actually needs. A quote that doesn’t account for colour change is likely underestimating the scope.
- Surfaces with staining or water damage. Bleed-through from old stains, water marks, or smoke damage requires specific priming products to seal before topcoats go on. Skipping this step results in discolouration that shows through the finish regardless of how many coats are applied.
A contractor who walks through the space carefully, asks about the history of the walls, and identifies these variables before quoting is doing their job. One who quotes without this assessment is either guessing or planning to skip steps.
What Skipping Prep Looks Like in the Finished Result
The consequences of inadequate prep are specific and visible. They’re not always obvious on the day the job is done, but they show up quickly once you start living with the finish under real lighting conditions and daily use. The most common visible failure modes, and the prep step that prevents each one:
- Visible patch outlines and texture variations under the finish — result of repairs that weren’t properly feathered and sanded before paint went on
- Flashing, where the sheen or colour appears different depending on the light and angle — result of uneven priming or painting over unprimed repairs
- Peeling or flaking along edges and trim — result of paint applied to glossy surfaces without sanding
- Uneven colour coverage that requires more coats than quoted — result of skipping primer on surfaces that needed it
- Dark lines and gaps along trim and baseboards — result of skipping or rushing caulking
- Early adhesion failure in high-traffic areas — result of painting over contaminated or inadequately cleaned surfaces
Many of these issues are not apparent during the final walkthrough. They emerge over weeks and months as the finish is exposed to light, wear, and cleaning. By that point, the contractor is no longer on-site.
How Interior Painting Prep Affects the Quality of the Finish Over Time
The connection between prep and longevity is direct. A finish applied to a properly prepared surface bonds more completely to the substrate, which means it resists wear, cleaning, and impact better and for longer. Interior paint in high-traffic areas — hallways, stairwells, kitchens, and living rooms — is subject to regular contact, cleaning, and abrasion. A finish that hasn’t bonded properly will show wear in these areas within months rather than years.
Properly primed and prepared surfaces also hold colour more consistently as they age. Surfaces that weren’t primed correctly tend to develop uneven fading or sheen variation over time, which makes a finish that once looked uniform start to look patchy without any obvious cause.
The same principle applies beyond the interior. The prep decisions that determine how long an interior finish holds up are the same ones that drive early exterior paint failure — inadequate surface preparation, skipped priming, and painting over conditions that weren’t properly addressed before the job started.
The practical implication is straightforward. A paint job that needs repainting in three years because of adhesion failure is not a cheaper job. When the full cost is accounted for, it is a more expensive one.
What a Thorough Prep Conversation Tells You About a Contractor
How a contractor talks about preparation before a job starts is one of the most reliable indicators of the quality of work they will deliver. A contractor who takes prep seriously talks about it specifically and without prompting.
Here is what a thorough prep conversation looks like:
- They walk through the space and assess surface conditions before quoting, rather than estimating from a room count alone
- They ask about the history of the walls — previous paint, repairs, problem areas — rather than assuming everything is standard
- Their quote specifies what prep is included: what repairs will be made, whether sanding is part of the scope, what priming approach will be used
- They can explain what they found during the walkthrough and how it affects the scope and the price
- They don’t use vague language like “standard prep” without defining what that means for your specific walls
Here is what a vague prep conversation signals:
- A quote that lists “minor prep” without defining scope
- No walkthrough or surface assessment before pricing
- No mention of priming approach or how colour changes will be handled
- A significantly lower price that isn’t explained by any visible difference in scope
When comparing quotes in London, the price difference between contractors often reflects the prep difference. Understanding that makes it possible to evaluate what you’re actually being offered, rather than comparing numbers that aren’t measuring the same thing. A professional interior painting process starts with that walkthrough and surface assessment — and the conversation that follows should give you a clear picture of exactly what the job involves before you commit to anything.
The Finish You’re Paying For Starts Before the Paint Does
How interior painting prep affects the quality of the finish is not a secondary consideration — it is the primary one. The paint product, the colour, and the number of coats all matter, but none of them can produce a lasting, high-quality result on a surface that wasn’t properly prepared. For homeowners in London comparing quotes and trying to understand why prices differ, prep is almost always the answer. A lower quote is not necessarily better value if it’s lower because preparation has been reduced or removed from the scope.
The same principle carries through to any exterior work you’re considering. The prep decisions that determine how long an interior finish lasts are the same ones behind a lasting exterior painting result — which is worth keeping in mind if your repaint plans extend beyond the interior walls.
The right contractor will walk you through exactly what preparation your specific interior requires and why. That conversation should happen before you commit to anything. If you’re getting quotes in London or Southwestern Ontario and want to understand what your walls actually need, reach out to High Five Painting for a free quote. We’ll assess the condition of your interior, explain what the prep process involves for your specific surfaces, and give you a clear picture of what a properly prepared job looks like from start to finish.